I’m sure many people thinking about HP-UX as an old and complicated UNIX operating system. But is that right? No! Below I will show you how easy you can drive HP-UX… 😉
I’m running the latest release of HP-UX 11.31 on a HP Integrity BL860c blade server. Between the well know 11.11 release of HP-UX and the latest version of HP-UX 11.31 there are lots of changes. The most important change is the entire move from SAM to the HP System Management Homepage (SMH). With the SMH you can configure your HP-UX system very comfortable with a web-based user interface. Another important enhancement is Integrity Virtual Machines! With Integrity VM you can easily virtualize HP-UX, Windows and Linux on a HP Integrity server. Today I want to show you a little bit about these two nice and powerful features. And you can see that HP-UX is not an old and complicated UNIX operating system. 😉 It’s comfortable, powerful and offers lot’s of functionality. But nobody is writing about it. 😉 It’s time to change this.
After setup of HP-UX it’s important to check the network settings. The hostname should be in /etc/hosts, your /etc/resolv.conf should have the right entries and of course you need a /etc/nsswitch.conf. Copy /etc/nsswitch.files to /etc/nsswich.conf and modify the following lines:
hosts: 		files dns
ipnodes:	files dns
These network setting are very important, otherwise you could have several problems.
Let’s go installing Integrity VM.
Insert the HP-UX Application DVD #1 into your DVD drive or ILO Virtual Media.
Logon to your HP-UX system with enabled X11 forwarding!
$ ssh -X root@hpux
Find the DVD drive.
# ioscan -fnC disk
Class     I  H/W Path     Driver S/W State   H/W Type     Description
=====================================================================
disk      1  0/3/0/0/0/0.1.0.0.0.0.1  sdisk   CLAIMED     DEVICE       HP      HSV200
                         /dev/dsk/c3t0d1     /dev/dsk/c3t0d1s2   /dev/rdsk/c3t0d1    /dev/rdsk/c3t0d1s2
                         /dev/dsk/c3t0d1s1   /dev/dsk/c3t0d1s3   /dev/rdsk/c3t0d1s1  /dev/rdsk/c3t0d1s3
disk      0  0/3/0/0/0/0.1.1.0.0.0.1  sdisk   CLAIMED     DEVICE       HP      HSV200
                         /dev/dsk/c1t0d1     /dev/dsk/c1t0d1s2   /dev/rdsk/c1t0d1    /dev/rdsk/c1t0d1s2
                         /dev/dsk/c1t0d1s1   /dev/dsk/c1t0d1s3   /dev/rdsk/c1t0d1s1  /dev/rdsk/c1t0d1s3
disk      3  0/3/0/0/0/1.1.0.0.0.0.1  sdisk   CLAIMED     DEVICE       HP      HSV200
                         /dev/dsk/c7t0d1     /dev/dsk/c7t0d1s2   /dev/rdsk/c7t0d1    /dev/rdsk/c7t0d1s2
                         /dev/dsk/c7t0d1s1   /dev/dsk/c7t0d1s3   /dev/rdsk/c7t0d1s1  /dev/rdsk/c7t0d1s3
disk      2  0/3/0/0/0/1.1.1.0.0.0.1  sdisk   CLAIMED     DEVICE       HP      HSV200
                         /dev/dsk/c5t0d1     /dev/dsk/c5t0d1s2   /dev/rdsk/c5t0d1    /dev/rdsk/c5t0d1s2
                         /dev/dsk/c5t0d1s1   /dev/dsk/c5t0d1s3   /dev/rdsk/c5t0d1s1  /dev/rdsk/c5t0d1s3
disk      5  255/1/0.0.0  sdisk   CLAIMED     DEVICE       HP      Virtual CD-ROM
                         /dev/dsk/c8t0d0   /dev/rdsk/c8t0d0
Mount the DVD and start the installation of Integrity VM.
# mount /dev/dsk/c8t0d0 /mnt
# swinstall -s /mnt
Select VMKernelSW
Select Actions -> Install
The system reboots.
Insert the HP-UX Application DVD #2 and install the user interface for Integrity VM.
# mount /dev/dsk/c8t0d0 /mnt
# swinstall -s /mnt
Select VMMGR
Select Actions -> Install
On my HP BL860c Integrity blade server I need to disable Hyperthreading. Otherwise Integrity VM won’t run and you get the following error message:
Error: An error occurred communicating with WBEM: CIM_ERR_FAILED CIM_ERR_FAILED: @1:An internal error has occurred.
# /usr/sbin/setboot -m off
# reboot
Done!
Now copy your HP-UX installation ISO images to /var/opt/hpvm/ISO-images/hpux and then have some fun with the SMH.
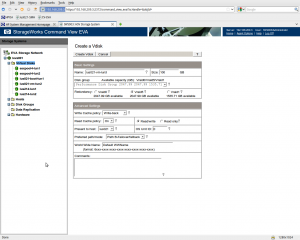
I created two 100 GB LUNs with Command View EVA and presented the LUNs to the HP-UX system.
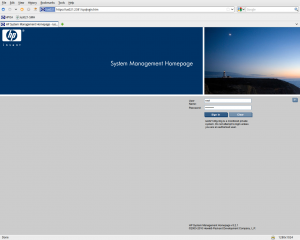
Start you web browser and go to http://hpux:2301
You will be redirected to the SMH and you have to log in with root credentials. In my case I use the root account. It’s a test system.
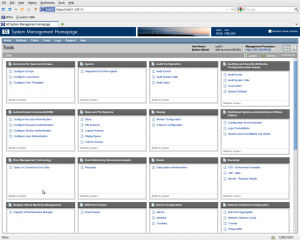
Select Tools and you see what you can manage everything with the SMH. 🙂
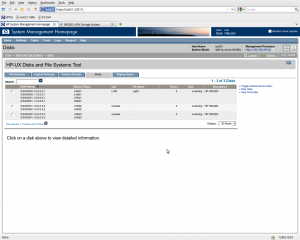
I created a volume group to associate the previous generated LUNs. Select Tools → Disk and File Systems → Volume Groups → Create VG…
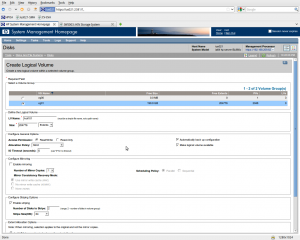
After you have successfully created a new Volume Group with both LUNs you can create a Logical Volume for the virtual machine.
As you can see I selected “Enable striping” ! Above I create two EVA LUNs and assoicated each LUN to an EVA controller. 😉 So I can utilize all host ports and the entire cache of my EVA ! That promise lots of performance.
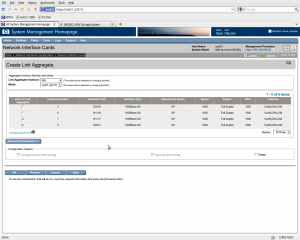
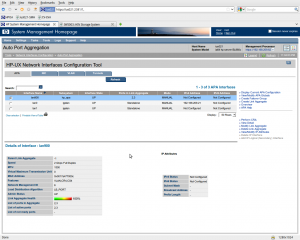
If you finished creating the Logical Volume, let’s build a Link Aggregate with two free NICs. Go to Tools → Network Interfaces Configuration → Auto Port Aggregation → Create Link Aggregate
With Virtual Connect I cannot create a LACP based link aggregation. So I choose Mode “Manual” and under Advanced Options I selected “LB_PORT” as Load Distribution Algorithm.
Everything easy right now, isn’t it? And you are working with a powerful and mission critical operating system. 😉 Unbelieveable!
You have done all prerequisites for the virtual machine. Let’s create a “Virtual Switch” and the “Virtual Machine” himself.
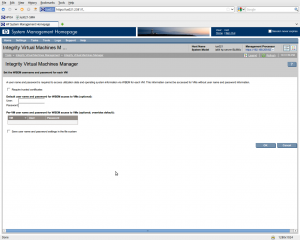
Go to Tools → Integrity Virtual Machines Management → Integrity Virtual Machines Manager
Continue the following screen by clicking OK
Select Virtual Switches → Create → Virtual Switch…
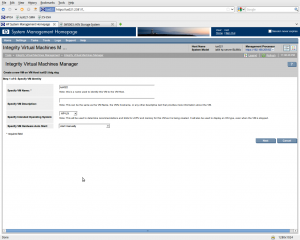
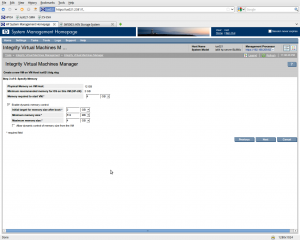
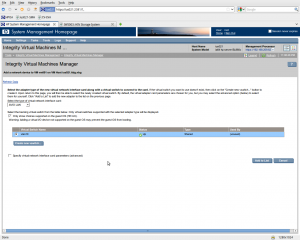
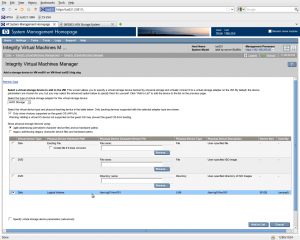
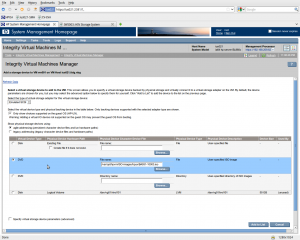
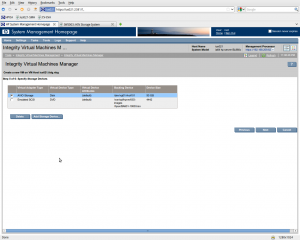
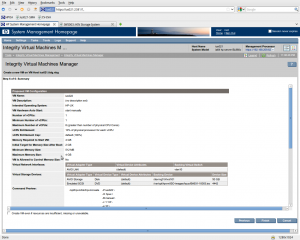
Let’s create the virtual machine, go to Virtual Machines → Create → Virtual Machine…
Preferr AVIO devices! They offers more performance. I use it for storage and networking, except the DVD drive.
After your virtual machine is created successfully, change to a shell.
Start the virtual machine with:
# hpvmstart -P ius022
Join the console with:
# hpvmconsole -P ius022
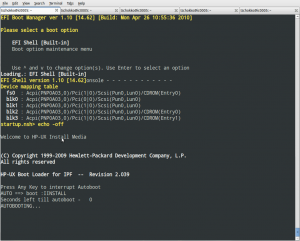
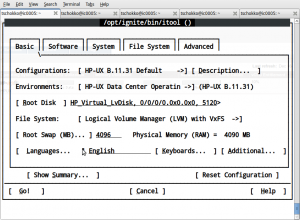
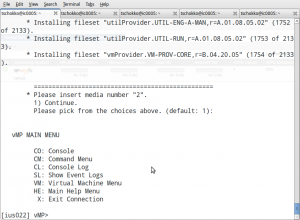
Enter CO and you can see your virtual machine booting into HP-UX setup.
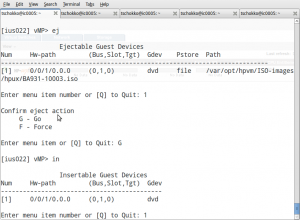
To change the ISO images during setup, break the console session with <Ctrl>+B, enter EJ for eject and follow the instructions. Type IN for insert, select the ISO image and go back to console with CO to continue the setup procedure. The HP-UX installation with local ISO image should be finished very fast.
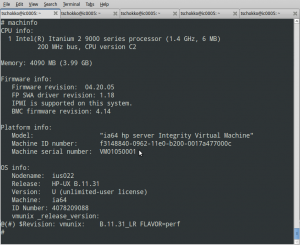
So, that’s it ! Enjoy your fresh installed HP-UX virtual machine. 🙂
As mentioned above HP-UX isn’t a complicated operating system. You can do lot’s of things with the SMH. HP-UX is well documented, too… I hope you enjoyed my little introduction to HP-UX 11.31 on HP Integrity servers. 🙂 More on HP-UX will follow soon.


Great walk-through for creating Integrity VMs. I wish more people would include all the screenshots like this when describing a configuration!
FYI, here’s a roadmap for HP-UX: http://h20338.www2.hp.com/hpux11i/downloads/HPUX%20Public%20Roadmap.pdf
Hi Daniel,
thanks for your comment. 🙂 It’s lots of work taking all the screenshots and writing an article. But in this case it’s very important to have good screenshots otherwise nobody can see how easy it is managing a HP-UX system.
Hi, great blog. The post is very descriptive, although I’m more fond with the HPVM cli commands than with the SMH Virtual Machine Manager.
I’m adding you to my blogroll.
Juanma.
Hi Juanma,
thanks for you comment. 🙂 You’re blog is great! So many good infos!!! I added you to my blogroll, too. 🙂
Btw. I’m familiar with CLI tools, but in this case I like to show that you can do lots of things with a comfortable gui, too.
Hi Tschokko,
You achieved your objective that’s for sure 😀 and showed the GUI way in a very didactic manner.
Juanma.