Introduction to HP-UX and Integrity VM
I’m sure many people thinking about HP-UX as an old and complicated UNIX operating system. But is that right? No! Below I will show you how easy you can drive HP-UX… 😉
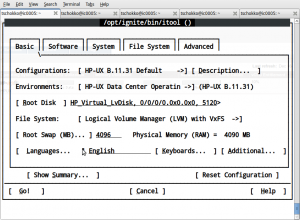
I’m running the latest release of HP-UX 11.31 on a HP Integrity BL860c blade server. Between the well know 11.11 release of HP-UX and the latest version of HP-UX 11.31 there are lots of changes. The most important change is the entire move from SAM to the HP System Management Homepage (SMH). With the SMH you can configure your HP-UX system very comfortable with a web-based user interface. Another important enhancement is Integrity Virtual Machines! With Integrity VM you can easily virtualize HP-UX, Windows and Linux on a HP Integrity server. Today I want to show you a little bit about these two nice and powerful features. And you can see that HP-UX is not an old and complicated UNIX operating system. 😉 It’s comfortable, powerful and offers lot’s of functionality. But nobody is writing about it. 😉 It’s time to change this.
After setup of HP-UX it’s important to check the network settings. The hostname should be in /etc/hosts, your /etc/resolv.conf should have the right entries and of course you need a /etc/nsswitch.conf. Copy /etc/nsswitch.files to /etc/nsswich.conf and modify the following lines:
hosts: 		files dns
ipnodes:	files dns
These network setting are very important, otherwise you could have several problems.
Let’s go installing Integrity VM.
Insert the HP-UX Application DVD #1 into your DVD drive or ILO Virtual Media.
Logon to your HP-UX system with enabled X11 forwarding!
$ ssh -X root@hpux
Find the DVD drive.
# ioscan -fnC disk
Class     I  H/W Path     Driver S/W State   H/W Type     Description
=====================================================================
disk      1  0/3/0/0/0/0.1.0.0.0.0.1  sdisk   CLAIMED     DEVICE       HP      HSV200
                         /dev/dsk/c3t0d1     /dev/dsk/c3t0d1s2   /dev/rdsk/c3t0d1    /dev/rdsk/c3t0d1s2
                         /dev/dsk/c3t0d1s1   /dev/dsk/c3t0d1s3   /dev/rdsk/c3t0d1s1  /dev/rdsk/c3t0d1s3
disk      0  0/3/0/0/0/0.1.1.0.0.0.1  sdisk   CLAIMED     DEVICE       HP      HSV200
                         /dev/dsk/c1t0d1     /dev/dsk/c1t0d1s2   /dev/rdsk/c1t0d1    /dev/rdsk/c1t0d1s2
                         /dev/dsk/c1t0d1s1   /dev/dsk/c1t0d1s3   /dev/rdsk/c1t0d1s1  /dev/rdsk/c1t0d1s3
disk      3  0/3/0/0/0/1.1.0.0.0.0.1  sdisk   CLAIMED     DEVICE       HP      HSV200
                         /dev/dsk/c7t0d1     /dev/dsk/c7t0d1s2   /dev/rdsk/c7t0d1    /dev/rdsk/c7t0d1s2
                         /dev/dsk/c7t0d1s1   /dev/dsk/c7t0d1s3   /dev/rdsk/c7t0d1s1  /dev/rdsk/c7t0d1s3
disk      2  0/3/0/0/0/1.1.1.0.0.0.1  sdisk   CLAIMED     DEVICE       HP      HSV200
                         /dev/dsk/c5t0d1     /dev/dsk/c5t0d1s2   /dev/rdsk/c5t0d1    /dev/rdsk/c5t0d1s2
                         /dev/dsk/c5t0d1s1   /dev/dsk/c5t0d1s3   /dev/rdsk/c5t0d1s1  /dev/rdsk/c5t0d1s3
disk      5  255/1/0.0.0  sdisk   CLAIMED     DEVICE       HP      Virtual CD-ROM
                         /dev/dsk/c8t0d0   /dev/rdsk/c8t0d0
Mount the DVD and start the installation of Integrity VM.
# mount /dev/dsk/c8t0d0 /mnt
# swinstall -s /mnt
Select VMKernelSW
Select Actions -> Install
The system reboots.
Insert the HP-UX Application DVD #2 and install the user interface for Integrity VM.
# mount /dev/dsk/c8t0d0 /mnt
# swinstall -s /mnt
Select VMMGR
Select Actions -> Install
On my HP BL860c Integrity blade server I need to disable Hyperthreading. Otherwise Integrity VM won’t run and you get the following error message:
Error: An error occurred communicating with WBEM: CIM_ERR_FAILED CIM_ERR_FAILED: @1:An internal error has occurred.
# /usr/sbin/setboot -m off
# reboot
Done!
Now copy your HP-UX installation ISO images to /var/opt/hpvm/ISO-images/hpux and then have some fun with the SMH.
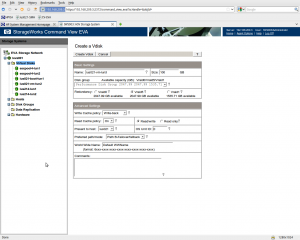
I created two 100 GB LUNs with Command View EVA and presented the LUNs to the HP-UX system.
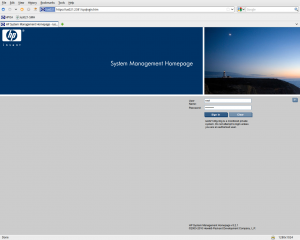
Start you web browser and go to http://hpux:2301
You will be redirected to the SMH and you have to log in with root credentials. In my case I use the root account. It’s a test system.
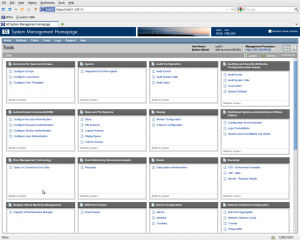
Select Tools and you see what you can manage everything with the SMH. 🙂
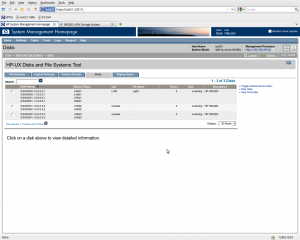
I created a volume group to associate the previous generated LUNs. Select Tools → Disk and File Systems → Volume Groups → Create VG…
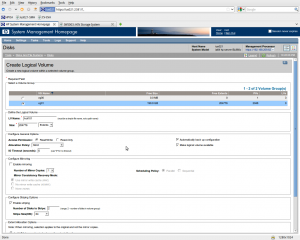
After you have successfully created a new Volume Group with both LUNs you can create a Logical Volume for the virtual machine.
As you can see I selected “Enable striping” ! Above I create two EVA LUNs and assoicated each LUN to an EVA controller. 😉 So I can utilize all host ports and the entire cache of my EVA ! That promise lots of performance.
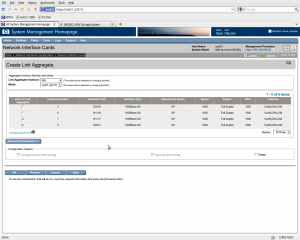
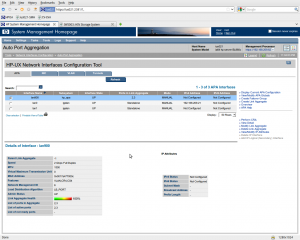
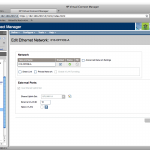
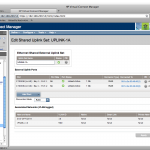
If you finished creating the Logical Volume, let’s build a Link Aggregate with two free NICs. Go to Tools → Network Interfaces Configuration → Auto Port Aggregation → Create Link Aggregate
With Virtual Connect I cannot create a LACP based link aggregation. So I choose Mode “Manual” and under Advanced Options I selected “LB_PORT” as Load Distribution Algorithm.
Everything easy right now, isn’t it? And you are working with a powerful and mission critical operating system. 😉 Unbelieveable!
You have done all prerequisites for the virtual machine. Let’s create a “Virtual Switch” and the “Virtual Machine” himself.
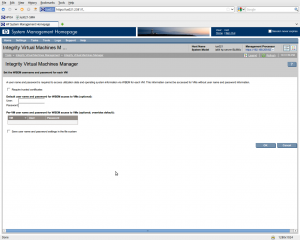
Go to Tools → Integrity Virtual Machines Management → Integrity Virtual Machines Manager
Continue the following screen by clicking OK
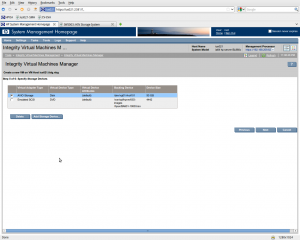
Select Virtual Switches → Create → Virtual Switch…
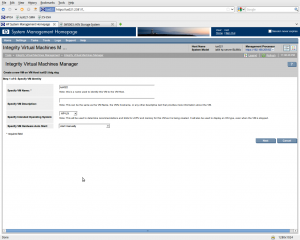
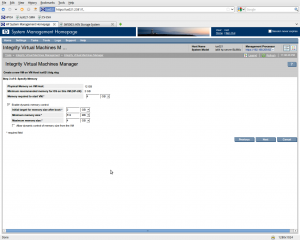
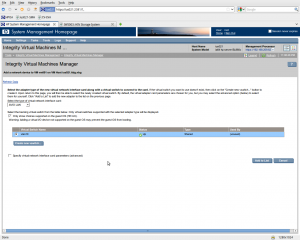
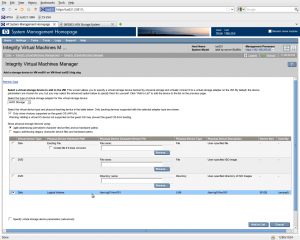
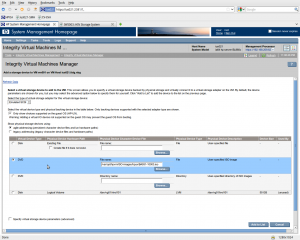
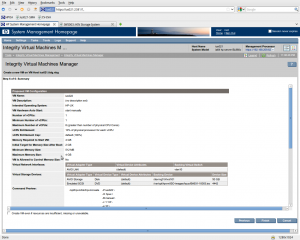
Let’s create the virtual machine, go to Virtual Machines → Create → Virtual Machine…
Preferr AVIO devices! They offers more performance. I use it for storage and networking, except the DVD drive.
After your virtual machine is created successfully, change to a shell.
Start the virtual machine with:
# hpvmstart -P ius022
Join the console with:
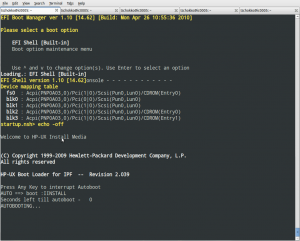
# hpvmconsole -P ius022
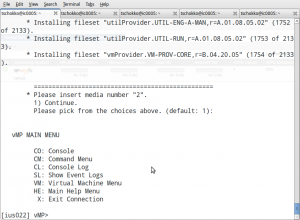
Enter CO and you can see your virtual machine booting into HP-UX setup.
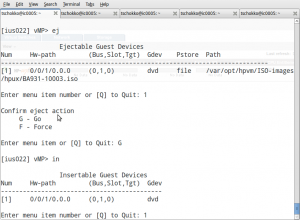
To change the ISO images during setup, break the console session with <Ctrl>+B, enter EJ for eject and follow the instructions. Type IN for insert, select the ISO image and go back to console with CO to continue the setup procedure. The HP-UX installation with local ISO image should be finished very fast.
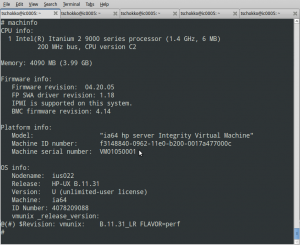
So, that’s it ! Enjoy your fresh installed HP-UX virtual machine. 🙂
As mentioned above HP-UX isn’t a complicated operating system. You can do lot’s of things with the SMH. HP-UX is well documented, too… I hope you enjoyed my little introduction to HP-UX 11.31 on HP Integrity servers. 🙂 More on HP-UX will follow soon.
